Unity용 분할 화면 동일 PC 멀티플레이어 튜토리얼
이 튜토리얼에서는 Unity에서 분할 화면 멀티플레이어를 만드는 방법을 보여 드리겠습니다.
단계
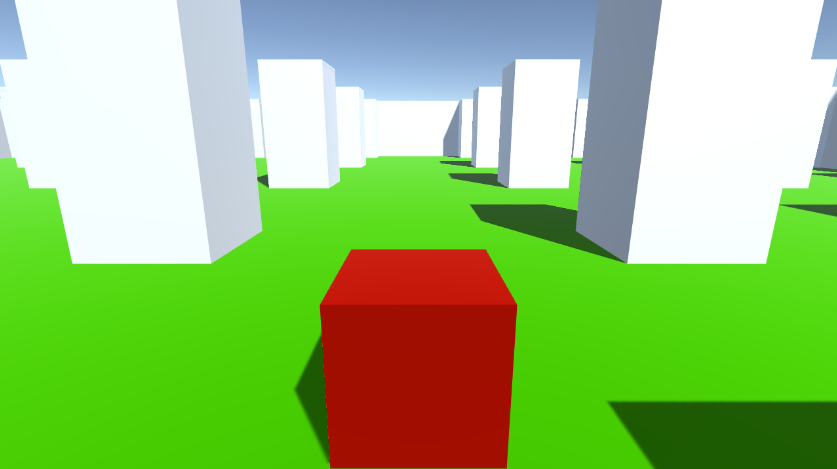
- 레벨이 있는 씬을 엽니다(제 경우에는 일부 큐브가 포함된 간단한 씬이 됩니다)

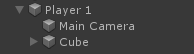
- 새로운 GameObject를 생성하고 호출합니다. "Player 1"
- 새 큐브를 생성하고 "Player 1" 개체 내부로 이동합니다(Box Collider 구성 요소 제거).
- 눈과 입에 대한 큐브를 몇 개 더 만듭니다(Box Collider 구성 요소도 제거).
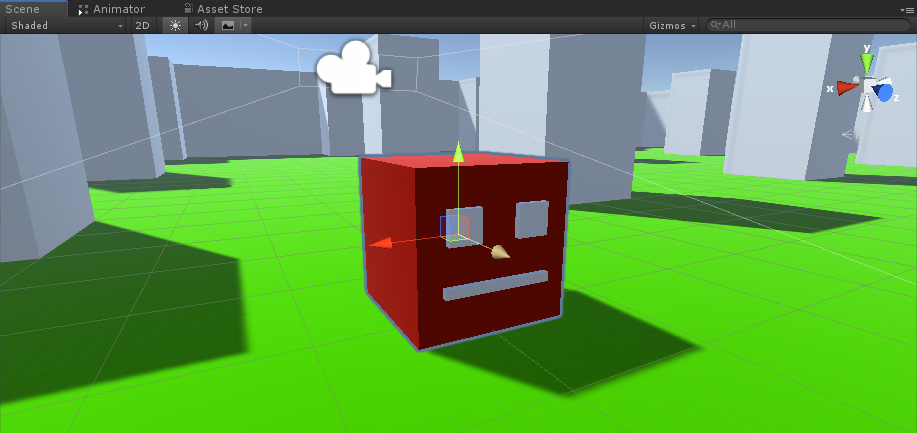
- 메인 카메라를 "Player 1" 개체 내부로 이동하고 큐브를 가리킵니다.
- 새 스크립트를 만들고 이름을 "RigidbodyPlayerController"로 지정한 후 그 안에 아래 코드를 붙여넣습니다.
RigidbodyPlayerController.cs
using UnityEngine;
using System.Collections;

[RequireComponent(typeof(Rigidbody))]
[RequireComponent(typeof(CapsuleCollider))]

public class RigidbodyPlayerController : MonoBehaviour
{

    public enum PlayerControls { WASD, Arrows }
    public PlayerControls playerControls = PlayerControls.WASD;
    public float movementSpeed = 3f;
    public float rotationSpeed = 5f;

    Rigidbody r;
    float gravity = 10.0f;

    void Awake()
    {
        r = GetComponent<Rigidbody>();
        r.freezeRotation = true;
        r.useGravity = false;
    }

    // Update is called once per frame
    void FixedUpdate()
    {
        // Move Front/Back
        Vector3 targetVelocity = Vector3.zero;
        if ((playerControls == PlayerControls.WASD && Input.GetKey(KeyCode.W)) || (playerControls == PlayerControls.Arrows && Input.GetKey(KeyCode.UpArrow)))
        {
            targetVelocity.z = 1;
        }
        else if ((playerControls == PlayerControls.WASD && Input.GetKey(KeyCode.S)) || (playerControls == PlayerControls.Arrows && Input.GetKey(KeyCode.DownArrow)))
        {
            targetVelocity.z = -1;
        }
        targetVelocity = transform.TransformDirection(targetVelocity);
        targetVelocity *= movementSpeed;

        // Apply a force that attempts to reach our target velocity
        Vector3 velocity = r.velocity;
        Vector3 velocityChange = (targetVelocity - velocity);
        float maxVelocityChange = 10.0f;
        velocityChange.x = Mathf.Clamp(velocityChange.x, -maxVelocityChange, maxVelocityChange);
        velocityChange.z = Mathf.Clamp(velocityChange.z, -maxVelocityChange, maxVelocityChange);
        velocityChange.y = 0;
        r.AddForce(velocityChange, ForceMode.VelocityChange);

        // We apply gravity manually for more tuning control
        r.AddForce(new Vector3(0, -gravity * r.mass, 0));


        // Rotate Left/Right
        if ((playerControls == PlayerControls.WASD && Input.GetKey(KeyCode.A)) || (playerControls == PlayerControls.Arrows && Input.GetKey(KeyCode.LeftArrow)))
        {
            transform.Rotate(new Vector3(0, -14, 0) * Time.deltaTime * rotationSpeed, Space.Self);
        }
        else if ((playerControls == PlayerControls.WASD && Input.GetKey(KeyCode.D)) || (playerControls == PlayerControls.Arrows && Input.GetKey(KeyCode.RightArrow)))
        {
            transform.Rotate(new Vector3(0, 14, 0) * Time.deltaTime * rotationSpeed, Space.Self);
        }
    }
}- RigidbodyPlayerController 스크립트를 "Player 1"에 연결합니다(Rigidbody 및 Capsule Collider라는 구성 요소 2개가 더 추가되는 것을 볼 수 있습니다)
- 큐브 크기와 일치할 때까지 Capsule Collider를 조정합니다.
2인용 분할 화면을 만드는 단계는 다음과 같습니다.
- "Player 1" 개체를 복제하고 이름을 "Player 2"로 바꿉니다.
- RigidbodyPlayerController에서 플레이어 컨트롤을 "Arrows"로 변경합니다.

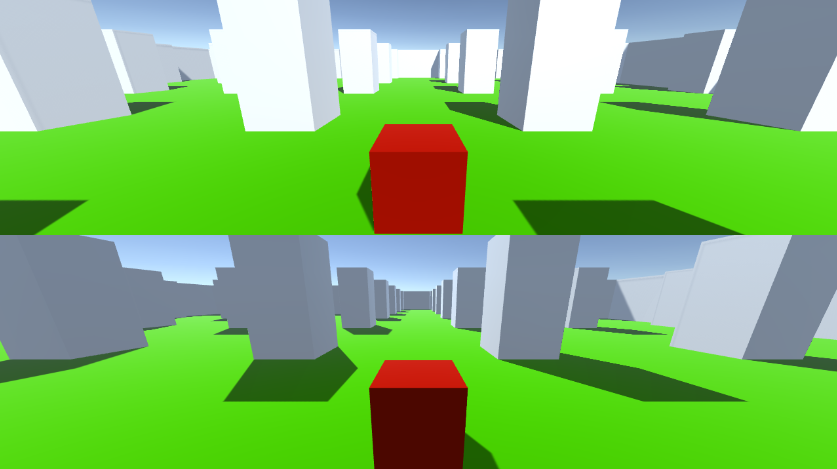
- "Player 1" 카메라의 뷰포트 직사각형 값을 X: 0 Y: 0.5 W: 1 H: 0.5로 변경합니다.
![]()
- "Player 2" 카메라의 뷰포트 직사각형 값을 X: 0 Y: 0 W: 1 H: 0.5로 변경합니다.
![]()
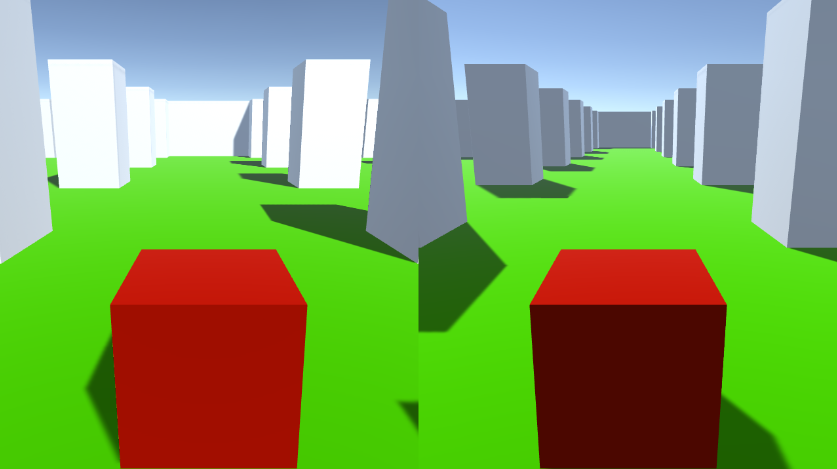
또는 아래 값을 설정하여 수직 분할 화면을 설정할 수 있습니다.
X: 0 Y: 0 W: 0.5 H: 카메라 1의 경우 1
X: 0.5 Y: 0 W: 0.5 H: 카메라 2의 경우 1