Unity에서 플레이어를 따르는 NPC 만들기
비플레이어 캐릭터 또는 NPC는 인간 플레이어가 제어하지 않고 대신 스크립트 또는 AI에 의해 제어되는 캐릭터입니다.
NPC가 해야 할 가장 일반적인 작업은 플레이어를 따르거나 쫓는 것입니다.
이번 튜토리얼에서는 Unity에서 플레이어를 따라다니는 NPC를 만드는 방법을 보여드리겠습니다.
1단계: 플레이어 컨트롤러 생성
NPC를 돌아다니며 테스트할 수 있도록 간단한 플레이어 컨트롤러를 만들겠습니다.
- 새 GameObject('GameObject' -> 'Create Empty')를 만들고 이름을 지정합니다. "Player"
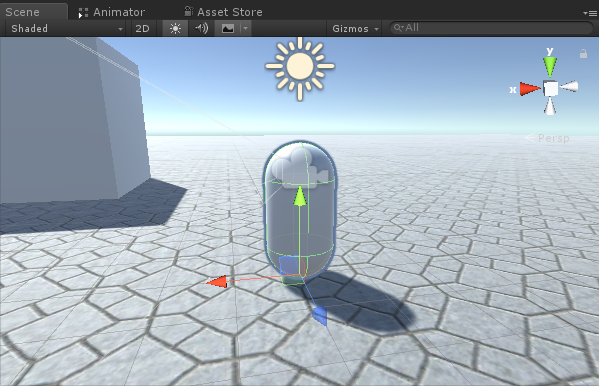
- 새 캡슐('GameObject' -> '3D Object' -> 'Capsule')을 생성하고 이를 Player Object 내부로 이동한 후 위치를 (0, 1, 0)으로 변경합니다.
- 캡슐에서 Capsule Collider 구성 요소 제거
- Player Object 내부로 Main Camera를 이동하고 위치를 (0, 1.64, 0)으로 변경합니다.
- 새 스크립트를 만들고 이름을 'SC_CharacterController'로 지정한 다음 그 안에 아래 코드를 붙여넣습니다.
'SC_CharacterController.cs'
using UnityEngine;

[RequireComponent(typeof(CharacterController))]

public class SC_CharacterController : MonoBehaviour
{
    public float speed = 7.5f;
    public float jumpSpeed = 8.0f;
    public float gravity = 20.0f;
    public Camera playerCamera;
    public float lookSpeed = 2.0f;
    public float lookXLimit = 45.0f;

    CharacterController characterController;
    Vector3 moveDirection = Vector3.zero;
    Vector2 rotation = Vector2.zero;

    [HideInInspector]
    public bool canMove = true;

    void Start()
    {
        characterController = GetComponent<CharacterController>();
        rotation.y = transform.eulerAngles.y;
    }

    void Update()
    {
        if (characterController.isGrounded)
        {
            // We are grounded, so recalculate move direction based on axes
            Vector3 forward = transform.TransformDirection(Vector3.forward);
            Vector3 right = transform.TransformDirection(Vector3.right);
            float curSpeedX = speed * Input.GetAxis("Vertical");
            float curSpeedY = speed * Input.GetAxis("Horizontal");
            moveDirection = (forward * curSpeedX) + (right * curSpeedY);

            if (Input.GetButton("Jump"))
            {
                moveDirection.y = jumpSpeed;
            }
        }

        // Apply gravity. Gravity is multiplied by deltaTime twice (once here, and once below
        // when the moveDirection is multiplied by deltaTime). This is because gravity should be applied
        // as an acceleration (ms^-2)
        moveDirection.y -= gravity * Time.deltaTime;

        // Move the controller
        characterController.Move(moveDirection * Time.deltaTime);

        // Player and Camera rotation
        if (canMove)
        {
            rotation.y += Input.GetAxis("Mouse X") * lookSpeed;
            rotation.x += -Input.GetAxis("Mouse Y") * lookSpeed;
            rotation.x = Mathf.Clamp(rotation.x, -lookXLimit, lookXLimit);
            playerCamera.transform.localRotation = Quaternion.Euler(rotation.x, 0, 0);
            transform.eulerAngles = new Vector2(0, rotation.y);
        }
    }
}- 'SC_CharacterController' 스크립트를 플레이어 개체에 연결하고 하위 기본 카메라를 플레이어 카메라 변수에 할당합니다.
- Character Controller라는 또 다른 구성 요소가 자동으로 추가되어 중앙 위치가 (0, 1, 0)으로 변경되는 것을 볼 수 있습니다.
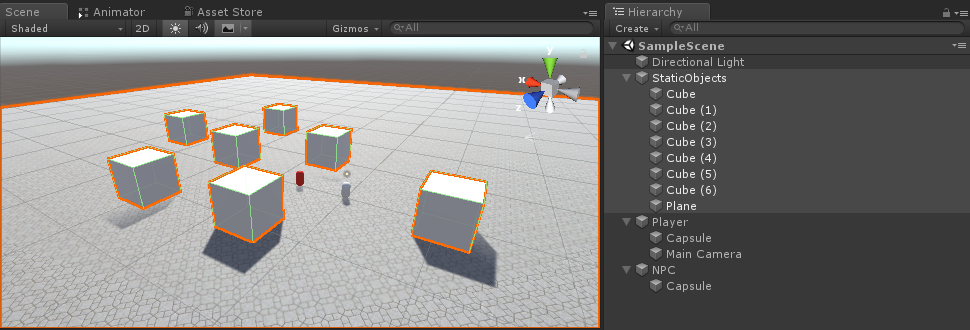
2단계: NPC 생성
NPC를 생성하려면 다음 단계를 따르세요.
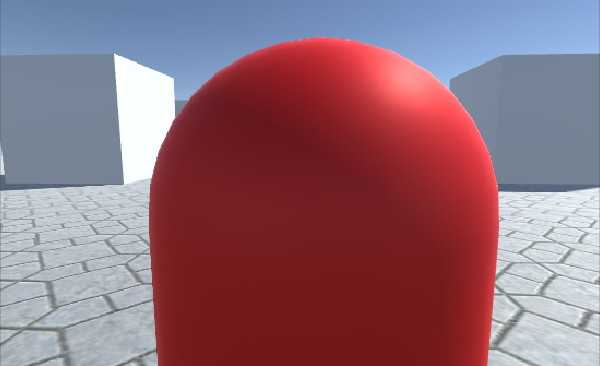
- 새로운 GameObject를 생성하고 이름을 "NPC"로 지정합니다.
- 새 캡슐을 생성하고 NPC 개체 내부로 이동한 후 위치를 (0, 1, 0)으로 변경합니다.
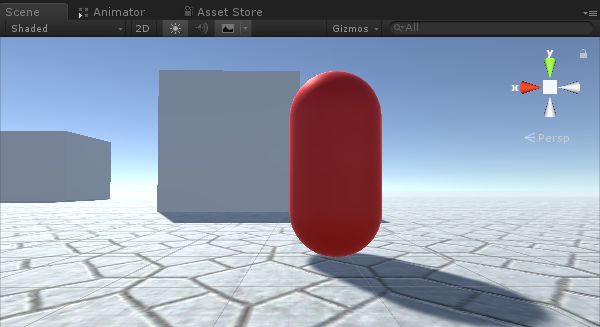
- 새 머티리얼을 만들고 이름을 지정하세요. "npc_material"
- npc_material의 색상을 빨간색으로 변경합니다.
- NPC 개체 내부의 Capsule에 npc_material을 할당합니다. (이는 NPC와 플레이어를 구별할 수 있도록 하기 위한 것입니다.)
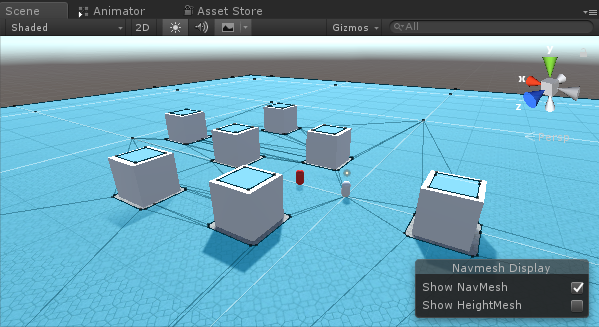
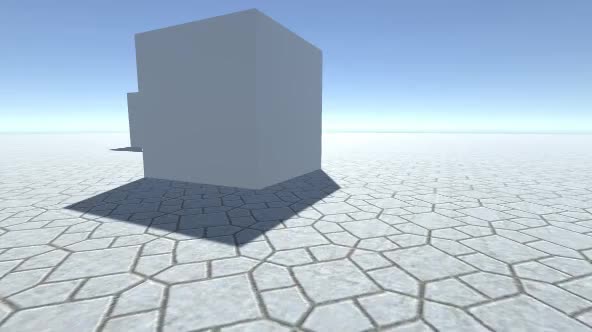
계속하기 전에 장면에서 NavMesh를 구워야 합니다.
NavMesh는 "Navigation Mesh"를 나타내며 NPC가 장애물에 부딪히지 않고 레벨을 탐색할 수 있도록 경로 찾기에 사용됩니다.
NavMesh를 굽려면 아래 단계를 따르십시오.
- 장면의 모든 정적 개체를 탐색 정적 개체로 표시

- 탐색 창('Window' -> 'AI' -> 'Navigation')으로 이동하여 Bake 탭을 선택한 다음 Bake를 클릭합니다.
NavMesh가 구워진 후에는 다음과 같아야 합니다.
이제 NPC 이동 프로그래밍으로 이동할 수 있습니다.
- 'NavMesh Agent' 구성 요소를 NPC 개체에 연결
- 새 스크립트를 만들고 이름을 지정하세요. 'SC_NPCFollow'
- 'SC_NPCFollow' 스크립트를 NPC 개체에 연결하세요
- 'SC_NPCFollow' 스크립트를 엽니다
먼저 스크립트 시작 부분에 UnityEngine.AI 네임스페이스를 추가하는 것부터 시작합니다.
using UnityEngine.AI;그런 다음 필요한 변수를 정의합니다.
    //Transform that NPC has to follow
    public Transform transformToFollow;
    //NavMesh Agent variable
    NavMeshAgent agent;
'void Start()'에서는 이 객체에 연결된 NavMesh Agent 구성 요소를 가져오는 것으로 시작합니다.
    // Start is called before the first frame update
    void Start()
    {
        agent = GetComponent<NavMeshAgent>();
    }
마지막으로 'void Update()'에서는 NavMesh 에이전트에 플레이어를 따르도록 지시합니다.
    // Update is called once per frame
    void Update()
    {
        //Follow the player
        agent.destination = transformToFollow.position;
    }
최종 'SC_NPCFollow.cs' 스크립트는 다음과 같습니다.
using UnityEngine;
using UnityEngine.AI;

public class SC_NPCFollow : MonoBehaviour
{
    //Transform that NPC has to follow
    public Transform transformToFollow;
    //NavMesh Agent variable
    NavMeshAgent agent;

    // Start is called before the first frame update
    void Start()
    {
        agent = GetComponent<NavMeshAgent>();
    }

    // Update is called once per frame
    void Update()
    {
        //Follow the player
        agent.destination = transformToFollow.position;
    }
}
일부 문제 해결:
문제 1: 재생을 누른 후 NPC 캡슐이 땅 위에 떠 있습니다.

해결책: NavMesh Agent의 Base Offset 변수를 음수 값으로 변경합니다(제 경우에는 -0.08입니다).

문제 2: 플레이어를 따라갈 때 NPC가 너무 가까이 다가옵니다.
해결 방법: NavMesh 에이전트에서 정지 거리를 더 높은 값으로 변경합니다(제 경우에는 5로 설정했습니다).

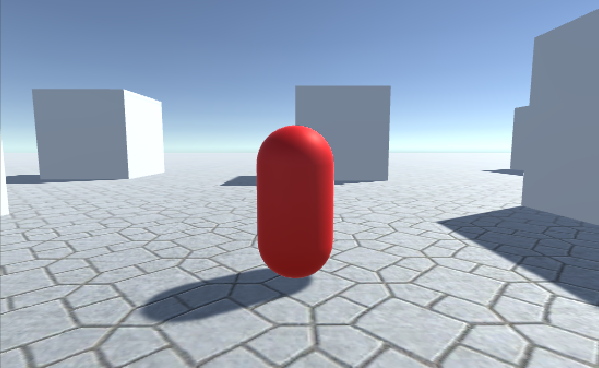
이제 NPC가 준비되었습니다. 테스트해 보겠습니다.
모든 것이 예상대로 작동하며 이제 NPC가 플레이어를 따라가며 설정된 거리에서 멈춥니다.